GIFs are everywhere, on social media, blogs and websites. These funny little animated images are both popular and on-trend, so if you’re a business you really don’t want to ignore them.
With so many online GIF-making sites it is easy to just use an automated GIF creator. But what if the internet goes down? What if every GIF tool crashes? Granted, it is unlikely, but it always good to be able to include a new skill on your CV, and hopefully impress your boss. Not to mention- it’s great fun!
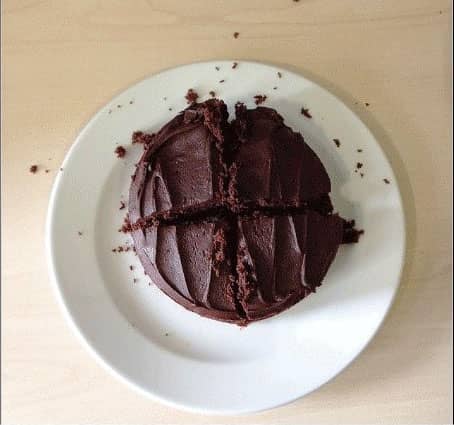
So, here is a step by step guide showing how to make GIFs using Photoshop CS5. For our example, we are using images from the food staple that all Digivate staff run on 24/7, cake. We left it on the table and snapped some pics. Get Photoshop open and try it yourself by following our guide points underneath.
1. Move the images that you want to use into one file.
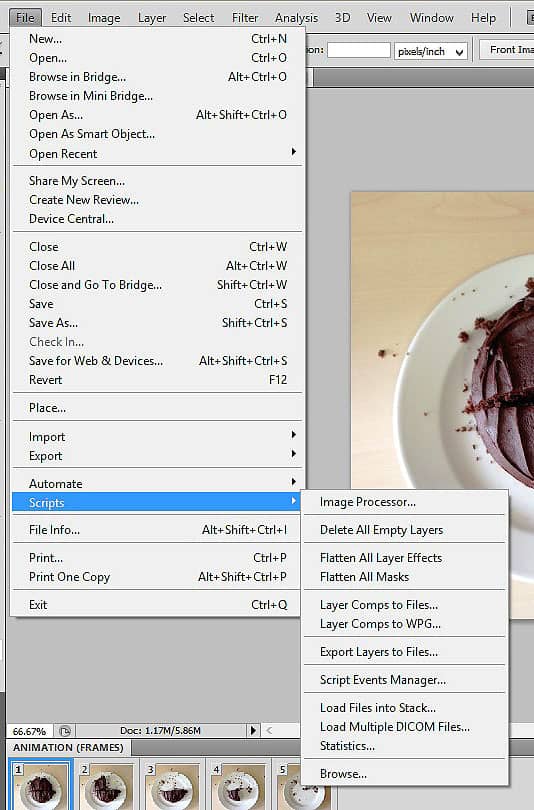
2. Click ‘file’, ‘scripts’ and then ‘load files into stack’.
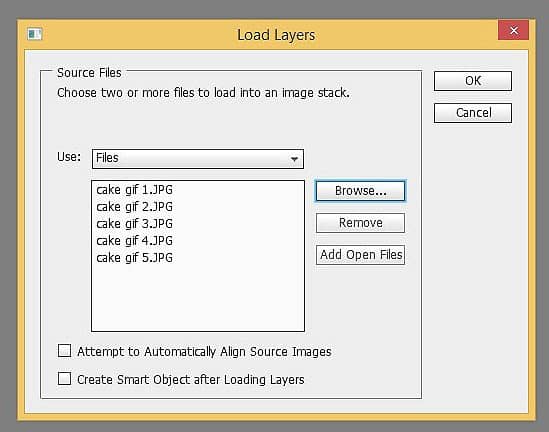
3. Click ‘browse’ and open the folder containing the images. Highlight the ones you want to open. Then click ‘ok’ to open the images, and ‘ok’ again to close the pop-up box.
4. The images should appear in the bottom right-hand corner. Drag the pictures to arrange them into the order that you want them to appear in.
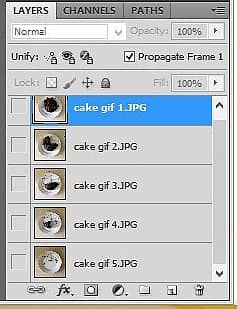
5. At the bottom of the page, there is a large grey box with nothing in it. On the upper right-hand side of the bar click on the menu icon. Then click ‘make frames from layers’.
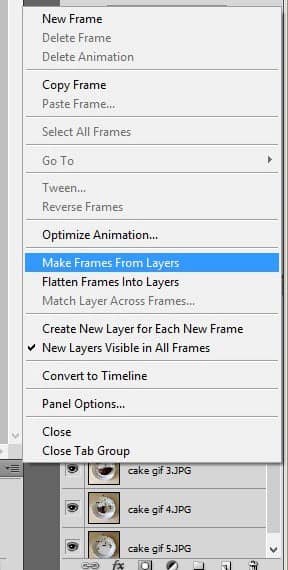
6. The images should then appear in the grey box.
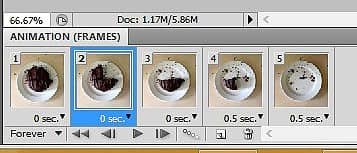 7. Choose the number of seconds that you want each image to appear for by clicking on the ‘sec’ menu at the bottom of the image.
8. Press the ‘play’ button on the bottom of the grey bar and watch your GIF go!
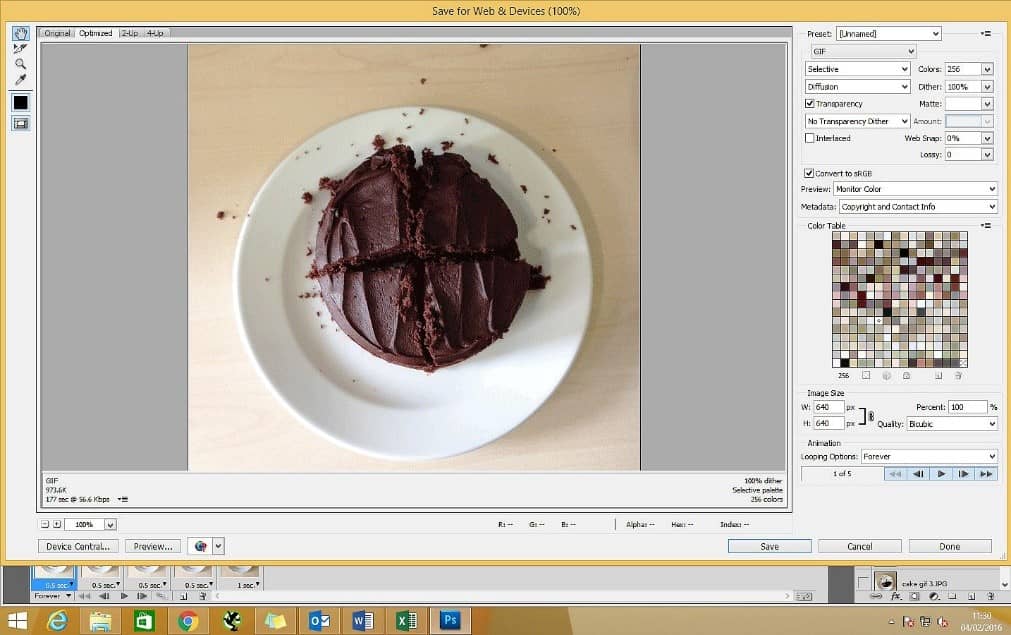
9. To save your image as a GIF, click ‘file’ and then ‘save for web & devices’. A box should appear. Make sure that the file in the upper right-hand corner says ‘GIF’. If it doesn’t it will be saved as a different file, which won’t animate.
10. To quickly change the GIF size, enter a number into the bar that says ‘per cent’. Then click ‘save’.
